3 Tips for Optimizing Your Smartphone Photo Shoot for Social Media
By: Justin Joffe
December 26, 2018
You’ve heard this a million times, but it’s still true—the majority of the tools you need to make your images pop on social are already in your pocket. Smartphones have an endless number of apps and native tools to improve image quality or highlight certain colors and textures you can use to optimize your shots for a social media campaign.
Here are a few tips we’ve picked up along the way:
Lights, camera, action
Professional photographers often employ external flashes and light screens, but you don’t really need them because the ability to control the important details of your shot is already native to the camera app on your smartphone.
Photographing an event in a fluorescent or otherwise brightly lit room? On your iPhone, simply tapping your screen at the washed-out portion of the image will adjust the exposure to make sure that portion of the image is crystal clear.
When forced to choose, always shoot an image darker rather than shooting it overexposed. Darker images have pixels of the underexposed parts buried in their data, which can be more clearly pronounced and defined later during editing. Once a portion of an image is captured blown-out or overexposed, however, there’s nothing in that white space but light.
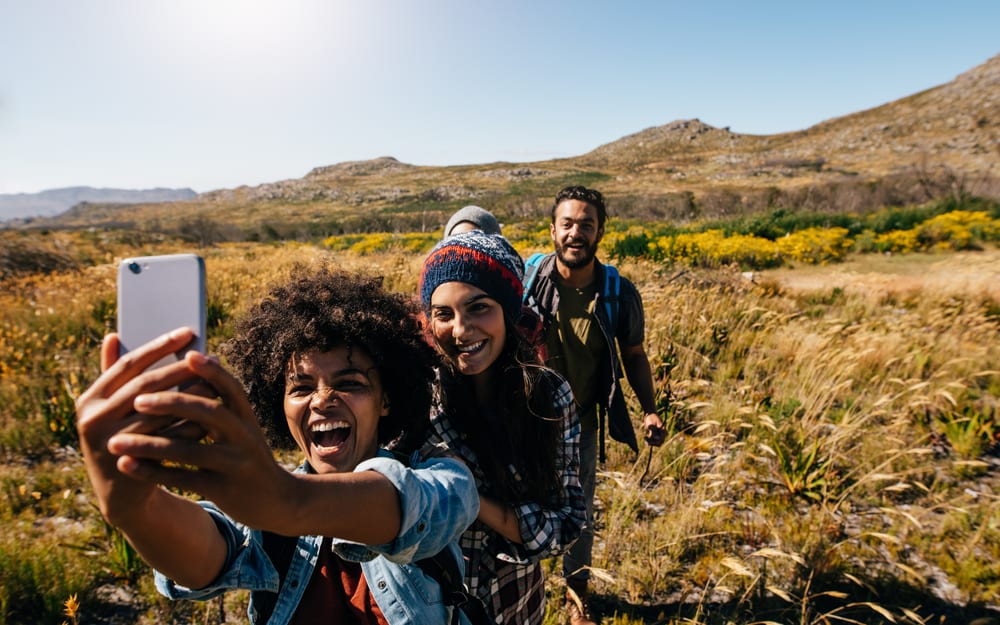
Action shots will always garner higher engagement on your photos—always. Shots of movement, of people interacting, and especially faces (ideally smiling) will infuse whatever content accompanies them with complexity and a human element that can be hard to replicate with a mere scene, object or product.
The right orientation for the right shot, and social platform
There are different schools of thought on the best way to hold your smartphone camera when taking photos. Because most people intuitively use their device vertically to communicate, they default to taking vertical photos, whatever the scene. This makes no sense at certain events like games or concerts, when the thing you’re photographing—a field or a concert stage—is itself horizontal.
That said, the social platform you are posting to is another important factor to consider when deciding what orientation is right for your image. Instagram’s interface is optimized for vertical photography, so you’ll see more detail on the image than if you take a horizontal shot (of course you have the option of focusing on a perfect square, but that will usually be a blurry mess if pulled from a horizontal image).
On Facebook and Twitter, however, horizontal images positively shine, as both platforms have an interface that displays horizontal images in all of their wide-angled glory. For social account managers and communicators who are also shooting on behalf of their brand, this means thinking ahead as to what channels the image will appear, and shooting accordingly. If you’re cross-posting a piece of content, there’s no hassle in shooting the same thing from multiple perspectives and orientations so they look good on each platform.
Focus on the middle third
One of the most basic rules of effective image composition is The Rule of Thirds, which states that shots should be composed as if they were sliced into three equal segments both vertically and horizontally, creating a grid within the frame. With this imagined grid dividing an image into nine equal parts, you should set up your shot so that important focal points for the image are placed along the intersections between the horizontal and vertical line intersections. Most smartphone cameras have an optional grid overlay you can turn on to get the hang of this concept.
When it comes to social media, though, the middle section of your image is most important. The reason is simple—on mobile devices, social platforms will not always show the whole image, but a crop of the image that can be clicked on and expanded in order to view the full composition. This is especially the case when multiple images are part of the same post. By making sure that the image’s most important information is in its middle third, you will ensure the viewer will see it, whether your audience engages with it or not.
Follow Justin: @joffaloff